

Tesla interior trim repair requires specialized knowledge and materials due to unique materials and designs. Common issues include leather damage, plastic deformities, and loose components, which can be addressed using heat-resistant adhesives for secure, durable repairs. By following a meticulous approach with cleaning, sanding, and precise adhesive application, auto body specialists can restore Tesla interiors to their original quality and value, ensuring long-lasting results.
Tesla vehicles are renowned for their cutting-edge technology and sleek design, but like any car, their interior trim can suffer damage over time. This article delves into the process of Tesla interior trim repair using heat-resistant adhesive systems—a modern solution for restoring your vehicle’s aesthetic appeal. We’ll explore common issues, the benefits of heat-resistant adhesives, and a step-by-step guide to ensure a professional-quality restoration.
- Understanding Tesla Interior Trim and Common Damage
- Heat-Resistant Adhesives: The Modern Solution for Repair
- Step-by-Step Guide to Effective Tesla Interior Trim Restoration
Understanding Tesla Interior Trim and Common Damage

Tesla vehicles are renowned for their sleek and modern interiors, featuring high-quality materials and innovative designs. However, like any vehicle, they are susceptible to damage over time, especially in the trim areas. Understanding Tesla interior trim repair is crucial for both owners and auto body repair specialists. Common issues include cracked or torn leather, damaged plastic panels, and loose or missing components. These problems can arise from various factors such as exposure to extreme temperatures, regular wear and tear, or accidental damage. For instance, heat-related expansion and contraction can lead to warping or cracking of trim pieces, particularly in regions with drastic climate changes.
Knowing the structure and materials used in Tesla interiors is essential for effective repair. The trim components often consist of a mix of durable plastics, leathers, and synthetic fabrics. Auto body repair technicians should be equipped to handle both aesthetic restoration and structural integrity when addressing damage. By utilizing specialized heat-resistant adhesives, professionals can ensure long-lasting repairs that match the vehicle’s original quality, thereby enhancing the overall customer experience and maintaining the car’s value, even after minor incidents like fender repairs or tire services.
Heat-Resistant Adhesives: The Modern Solution for Repair
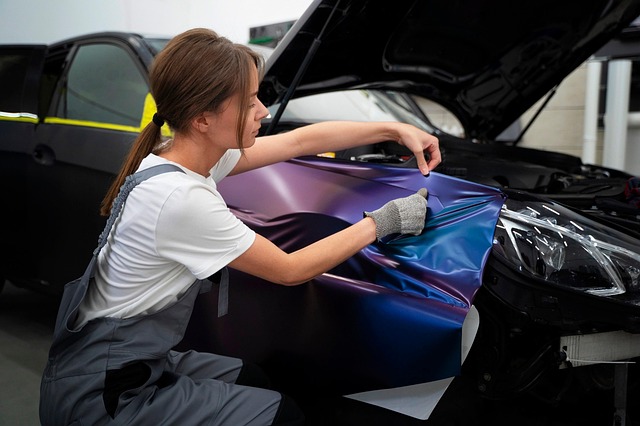
In the realm of Tesla interior trim repair, heat-resistant adhesives have emerged as a modern solution, revolutionizing the way damages are addressed. These innovative adhesive systems play a pivotal role in enhancing the durability and aesthetic appeal of vehicle interiors, particularly in the face of everyday wear and tear or unexpected incidents like collisions. By offering superior bonding strength even under high temperatures, they ensure that repairs not only look seamless but also stand the test of time.
Heat-resistant adhesives are especially valuable for Tesla owners seeking top-notch body shop services. Unlike traditional adhesive options, these advanced formulations can withstand extreme temperatures without losing their structural integrity. This is crucial for automotive repair, as it guarantees that repaired components remain securely in place, even during rigorous testing or when the vehicle is subjected to varying climate conditions. Consequently, heat-resistant adhesives are a game-changer in collision repair, providing both reliability and peace of mind for Tesla drivers.
Step-by-Step Guide to Effective Tesla Interior Trim Restoration
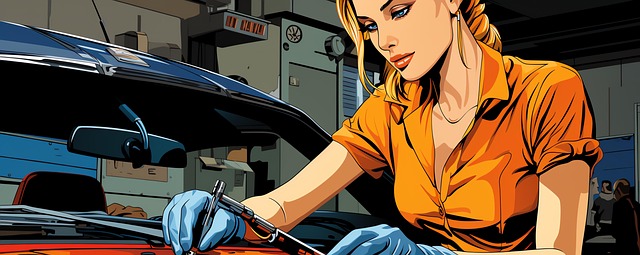
Restoring your Tesla’s interior trim to its original condition involves a meticulous process that requires the right tools and materials. Here’s a step-by-step guide for effective Tesla interior trim restoration. Start by thoroughly cleaning the damaged area using a suitable cleaner designed for vehicle interiors. This will help remove any dirt, dust, or debris that could affect the adhesive’s bonding power. Once the surface is clean, use fine sandpaper to gently buff the area, creating a slightly rough texture to enhance adhesion.
Next, prepare your heat-resistant adhesive system according to the manufacturer’s instructions. Heat applications, often with a hairdryer, are crucial for activating certain adhesives and ensuring long-lasting bonds. Carefully apply the adhesive along the edges of the trim piece, following the vehicle’s factory lines as closely as possible. Press the repaired trim firmly into place and hold it secure until the adhesive sets. Remember that proper auto body repair techniques, including Tesla interior trim repair, require patience and precision to achieve optimal results, ensuring a like-new appearance for your vehicle.
Tesla interior trim repair is a specialized task that requires modern solutions. By utilizing heat-resistant adhesive systems, you can effectively restore your vehicle’s interior to its original condition. Following a step-by-step guide ensures precision and longevity in the repair process, making it a worthwhile investment for any Tesla owner. Remember, proper care and timely attention to damage can preserve the beauty and functionality of your car’s interior trim.