


For Tesla interior trim repair, accurately match textures and use model-specific parts to preserve vehicle harmony and value. Essential tools include scissors, sandpaper, glues, and texture compounds/paints. Follow a meticulous cleaning and preparation process for optimal adhesion. Avoid deviations from original textures to maintain the car's design philosophy and driving experience.
Tesla owners often face a unique challenge when it comes to interior trim repair: matching the model-specific textures. This article guides you through the process, ensuring your repairs blend seamlessly with your Tesla’s original design. We’ll explore the importance of understanding your vehicle’s unique textures and provide a step-by-step approach for achieving accurate results. By following this guide, you’ll be equipped with the knowledge to tackle trim repairs effectively, preserving your Tesla’s aesthetic appeal.
- Understanding Model-Specific Textures in Tesla Interiors
- Tools and Materials for Accurate Trim Repairs
- Step-by-Step Guide to Matching Texture for Optimal Results
Understanding Model-Specific Textures in Tesla Interiors

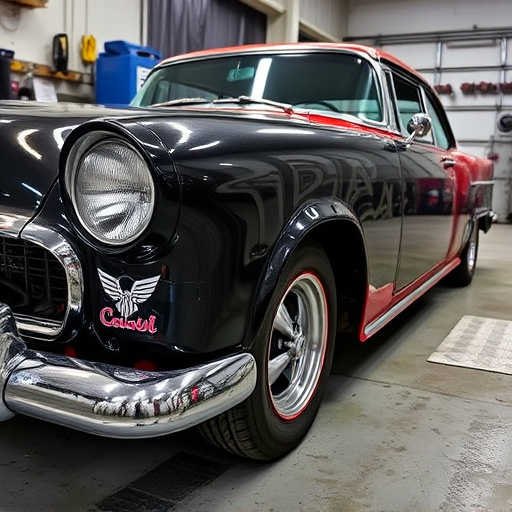
When it comes to Tesla interior trim repair, understanding model-specific textures is paramount. Each Tesla model, from the Model S to the Model 3, boasts a unique aesthetic that requires precise replication during any repair process. These textures aren’t just about visual appeal; they’re engineered to complement the overall design philosophy and driving experience of each vehicle. For instance, some models feature luxurious leather with intricate stitching, while others showcase sleek, modern fabrics and synthetic materials.
Mastering these nuances involves a deep knowledge of Tesla’s design language and access to authentic materials. Collision damage repair or auto body repairs on Tesla interiors demand attention to detail, as even the slightest deviation from the original texture can disrupt the vehicle’s overall harmony. Therefore, for any interior trim repair, ensuring that the new components perfectly match the model-specific textures is crucial to maintaining both the car’s beauty and its value.
Tools and Materials for Accurate Trim Repairs

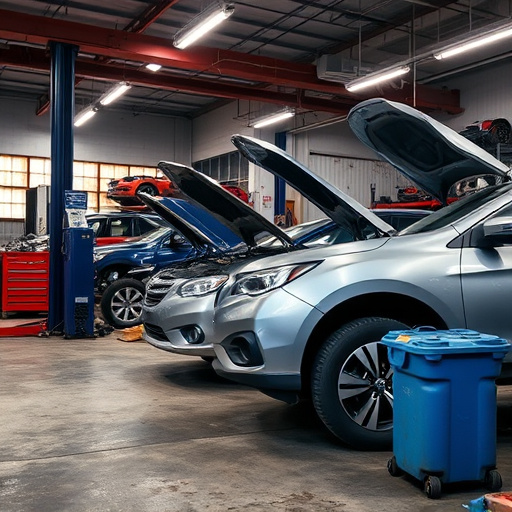
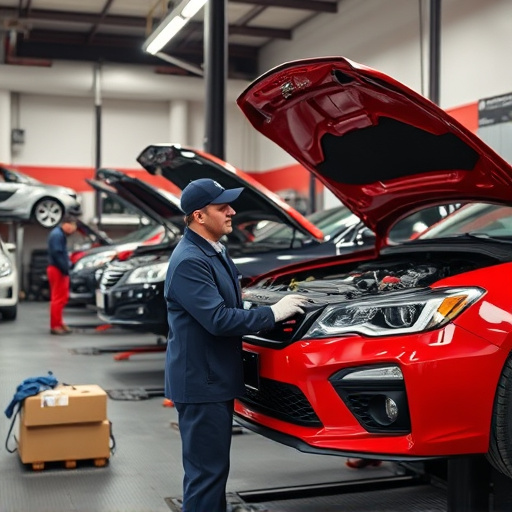
When tackling Tesla interior trim repair, having the right tools and materials is paramount to achieving an accurate and seamless result that matches your vehicle’s unique model-specific textures. For a successful repair, gather high-quality replacement parts designed specifically for your Tesla model. This ensures compatibility and a perfect fit.
Essential tools for this process include specialized scissors or cutters for trim removal, fine-grit sandpaper for smoothing edges, and a range of glues and adhesives formulated for automotive restoration. For precise detailing, consider investing in texture matching compounds and paints that can replicate the original factory finish, effectively blending into the existing interior design, whether it’s leather, fabric, or vinyl. Think of it as an art form – like an automotive repairman becoming a master craftsman – requiring attention to detail and a keen eye for visual consistency across your Tesla’s interior.
Step-by-Step Guide to Matching Texture for Optimal Results

When undertaking Tesla interior trim repair, matching the texture is paramount to achieving optimal results that blend seamlessly with your vehicle’s design. Here’s a step-by-step guide tailored for Tesla owners looking to restore their cars’ interiors:
1. Assess Damage and Gather Materials: Begin by thoroughly inspecting the damaged area. Identify the specific components in need of repair, such as door panels or center consoles. Next, acquire high-quality replacement parts that not only match your Tesla model but also have the exact same texture to ensure a perfect fit. For specialized materials, consult with professionals offering auto repair services, who can guide you towards the right products for the job.
2. Prepare the Surface: Before applying any repairs or new trim pieces, prepare the surface by thoroughly cleaning and decontaminating it. Remove any debris, dust, or old adhesive residue using appropriate tools and solvents recommended for Tesla interior trim repair. This step ensures that your repair work adheres properly and matches the original texture seamlessly. Consider this a crucial foundation for achieving professional results akin to those from top-tier mercedes benz collision repair services.
When undertaking Tesla interior trim repair, matching model-specific textures is crucial for optimal results. By understanding the unique characteristics of your Tesla’s interior and using the right tools and materials, you can ensure a seamless repair that preserves the vehicle’s original aesthetic appeal. Following a step-by-step guide tailored to your specific model will help achieve accurate and lasting repairs, enhancing both functionality and curb appeal for your Tesla.