

Tesla interior trim repair involves addressing common wear issues like faded upholstery and loose trim using expert services. The process includes identifying damages, acquiring parts, disassembly, cleaning, reinstallation, and using high-quality materials for long-lasting results. Preparation of surfaces enhances adhesive bond strength to prevent future deterioration, restoring your Tesla's interior to original condition.
Tesla vehicles, known for their innovative technology, also boast unique interiors. However, over time, the high-quality interior components can show signs of wear and tear. This article delves into the world of Tesla interior trim repair, offering a comprehensive guide for owners looking to restore their vehicle’s aesthetics. From understanding the material composition to mastering repair techniques, we provide practical insights to ensure long-lasting, like-new results for your Tesla’s interior trim.
- Understanding Tesla Interior Trim: Materials and Common Issues
- Demystifying the Replacement Process: Step-by-Step Guide
- Effective Repair Techniques for Long-Lasting Results
Understanding Tesla Interior Trim: Materials and Common Issues

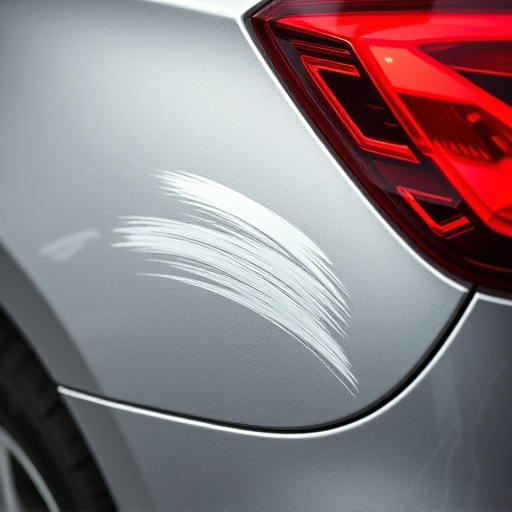
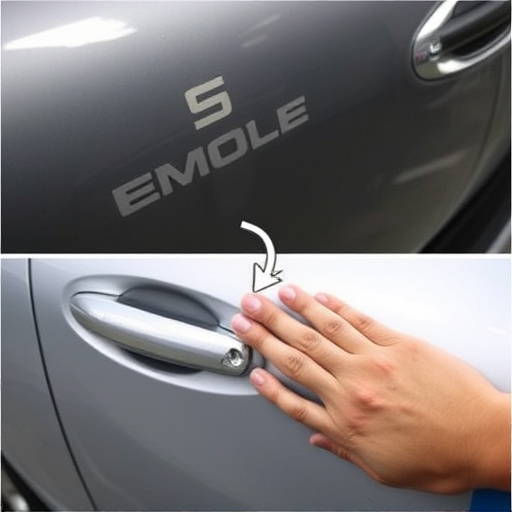
Tesla vehicles are renowned for their sleek and modern interiors, featuring a blend of premium materials such as leather, fabric, and high-quality plastics. However, like any other vehicle, Teslas require periodic interior trim repair due to normal wear and tear or unforeseen incidents. Common issues include faded or torn upholstery, cracked plastic components, and loose or broken trim pieces. These problems can arise from everyday use, exposure to harsh weather conditions, or accidental damage.
Understanding the materials used in Tesla interiors is key to effective repair. For instance, leather may require conditioning or replacement, while plastics might need to be repaired or replaced entirely. Reputable collision repair centers and fleet repair services specializing in electric vehicles offer comprehensive Tesla interior trim repair solutions. They employ trained technicians equipped with the latest tools and technologies to handle these repairs, ensuring your vehicle’s interior is restored to its original condition.
Demystifying the Replacement Process: Step-by-Step Guide
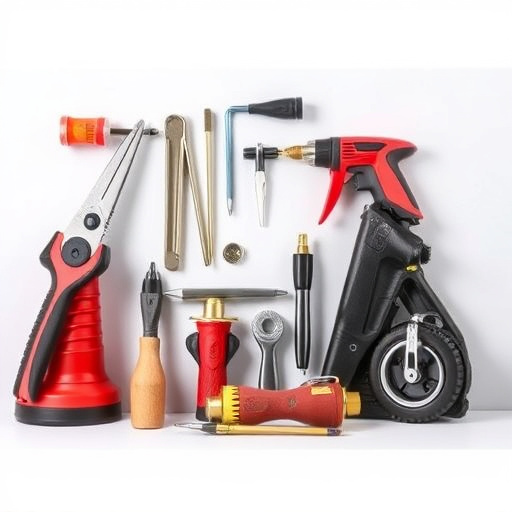
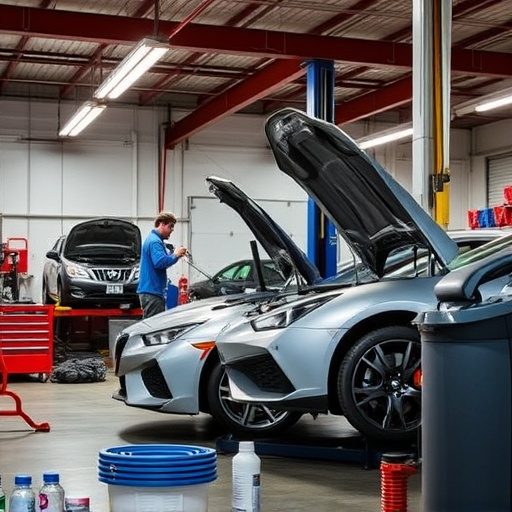
When it comes to Tesla interior trim repair, demystifying the process is key for owners looking to restore their vehicles’ pristine condition. The replacement of interior components involves careful navigation through intricate systems, but with a step-by-step guide, it becomes a manageable task. Start by identifying the specific part(s) in need of repair or replacement, whether it’s a cracked dashboard, faded leather seats, or a faulty door panel. Gather the necessary tools and high-quality aftermarket parts designed to fit your Tesla model seamlessly.
Disassemble the affected area with precision, taking note of how each component connects. This step requires patience and a methodical approach. Once removed, clean the underlying surfaces thoroughly to ensure proper adhesion during reassembly. Follow manufacturer instructions or online resources for detailed guidance on replacing each part. For instance, some Tesla models may require special adhesive or fixings specific to their design. Finish by reinstalling all components, double-checking their functionality and fit before moving on to the next step in the repair process.
Effective Repair Techniques for Long-Lasting Results

When it comes to Tesla interior trim repair, employing effective techniques is paramount to ensuring long-lasting results. One proven method involves utilizing high-quality materials specifically designed for Tesla vehicles. This includes authentic or carefully replicated components that match the original specifications, guaranteeing a seamless fit and aesthetic appeal. Professionals in vehicle body shops or collision centers often recommend pre-fitting the new trim pieces before installation to identify and address any potential issues, leading to precise and flawless replacements.
Additionally, proper preparation of the existing interior surfaces is crucial. This involves meticulous cleaning, sanding, and priming to ensure the new trim adheres securely. Techniques such as using specialized adhesives and sealants recommended by Tesla or trusted aftermarket suppliers enhance bond strength, preventing future separations or deterioration. By combining these methods, dent repair experts can restore your Tesla’s interior to its original condition, providing both functionality and visual satisfaction for years to come.
Tesla interior trim repair is a specialized task that requires understanding both the vehicle’s unique materials and common issues. By demystifying the replacement process through a step-by-step guide, you can effectively address problems and ensure long-lasting results. Employing suitable repair techniques will not only restore your Tesla’s aesthetic appeal but also maintain its value. Remember, proper care and timely intervention are key to preserving the integrity of your vehicle’s interior trim.