
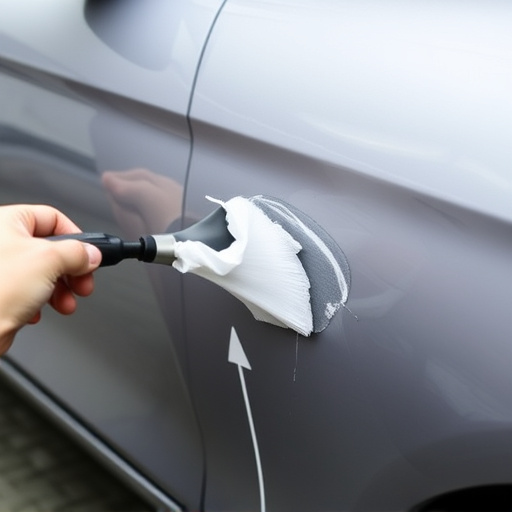


Tesla interior trim repair begins with a thorough assessment of rear seat and trunk panel damage, including cracks, tears, and structural issues. This process involves careful inspection, precise removal of old trim, accurate measurements for replacements, and alignment techniques akin to Mercedes Benz repair methods. Restoring functionality through meticulous reassembly ensures aesthetic appeal and practical capabilities, with top-notch car paint services matching the original finish.
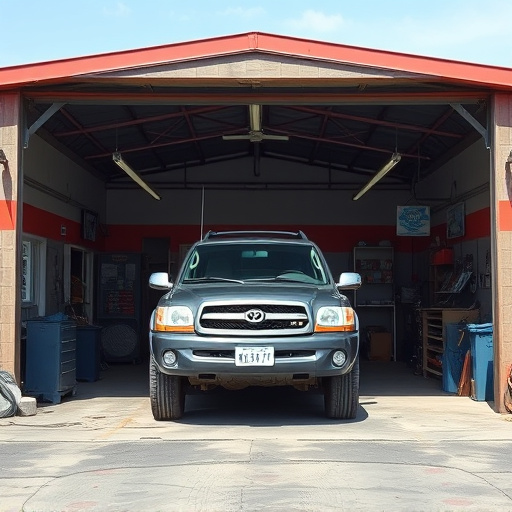
Tesla owners often pride themselves on maintaining their vehicles’ sleek, modern aesthetics. However, even the most careful drivers can face issues with the car’s interior trim, particularly in high-wear areas like the rear seat and trunk panel. This article guides you through the process of repairing and restoring these sections. We’ll cover evaluating damage, replacing trim pieces step-by-step, and reactivating mechanisms to ensure your Tesla maintains its distinctive style and functionality.
- Evaluating Damage: Rear Seat and Trunk Panel Inspection
- Replacing Damaged Trim: Step-by-Step Guide
- Restoring Functionality: Reattaching Mechanisms and Trims
Evaluating Damage: Rear Seat and Trunk Panel Inspection
When it comes to Tesla interior trim repair, the first step is a thorough evaluation of the damage in the rear seat and trunk panel areas. This involves closely inspecting the panels for any cracks, tears, or loose parts. It’s crucial to assess not just the visible damage but also subtle indicators such as warping or misalignments that might suggest deeper issues within the trim structure.
During this inspection, consider the overall condition of the surrounding materials and components. In automotive collision repair, even seemingly minor incidents can cause cascading effects on adjacent parts. For instance, a rear-end crash could lead to damage not just to the exterior panels but also to the interior trim, seatbelts, and other fixtures within the vehicle’s cabin. Therefore, a meticulous evaluation by qualified technicians is essential before proceeding with any Tesla interior trim repair services or body shop solutions.
Replacing Damaged Trim: Step-by-Step Guide
Replacing Damaged Trim: Step-by-Step Guide
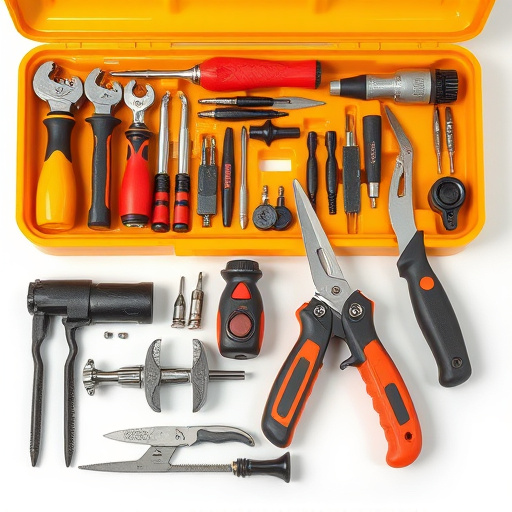
The first step in Tesla interior trim repair for rear seat and trunk panel areas is to carefully inspect the damaged sections. Begin by removing any loose debris or foreign objects from within the crevices of the trim. Next, using a suitable tool, gently pry off the old, damaged trim pieces while ensuring that you don’t cause further harm to adjacent panels. This step requires precision and patience to avoid marring the vehicle’s interior.
Once the old trim is removed, take measurements of the affected areas to ensure precise replacement. Procure high-quality Tesla-specific interior trim parts from a trusted auto repair near me or online retailer. With the new trim pieces in hand, carefully align them with the corresponding holes and clips on the vehicle’s structure. Securely attach the new trim using appropriate fasteners, ensuring a tight fit for a seamless appearance. This meticulous process, similar to mercedes benz repair techniques, demands attention to detail to achieve a factory-like finish.
Restoring Functionality: Reattaching Mechanisms and Trims
Restoring functionality is a key aspect of any Tesla interior trim repair, especially when focusing on the rear seat and trunk panel areas. After disassembling the affected components, it’s crucial to carefully reattach all mechanisms and trims to ensure smooth operation. This involves precise alignment and secure fastening, requiring a steady hand and a keen eye for detail.
Properly executed, these repairs not only enhance the aesthetic appeal of your luxury vehicle repair but also restore its practical capabilities. A skilled vehicle body shop can provide top-notch car paint services to match the original finish, ensuring that every touchpoint—from seatbelts to trunk handles—functions flawlessly and looks as good as new.
Repairing Tesla’s interior trim, particularly in the rear seat and trunk panel areas, can significantly enhance both the vehicle’s aesthetics and functionality. By following a systematic approach outlined in this article—from evaluating damage to restoring mechanisms—owners can tackle these repairs themselves, saving time and costs. With a bit of patience and the right tools, you can transform your Tesla’s interior, ensuring a smooth and satisfying DIY experience for all Tesla enthusiasts looking to maintain their vehicle’s premium feel.