


Tesla interior trim damage ranges from minor scuffs to significant cracks, requiring professional or DIY repairs. Common causes include wear and tear, accidental damage, and manufacturing defects. Surface scratches can be treated with polishing, while more severe damage may need replacement parts and skilled vehicle body repair techniques. Using the right tools, approaches, and genuine/aftermarket parts ensures effective restoration. For complex jobs, specialized Tesla interior trim removal tools are recommended. Proper preparation, research, and safety measures facilitate successful DIY repairs.
Looking to fix that damaged dashboard or panel in your Tesla? This comprehensive guide is your go-to resource for understanding and repairing interior trim damage. We’ll break down common causes, from everyday wear and tear to accidental bumps, and provide a step-by-step DIY approach tailored for Tesla owners. Learn which replacement parts and tools are essential for a successful repair, empowering you to restore your vehicle’s pristine condition. Get ready to tackle that fix with confidence!
- Understanding Tesla Interior Trim Damage: Common Causes and Types
- The Step-by-Step Guide to Dashboard or Panel Repair
- Replacement Parts, Tools, and Tips for Successful DIY Repairs
Understanding Tesla Interior Trim Damage: Common Causes and Types

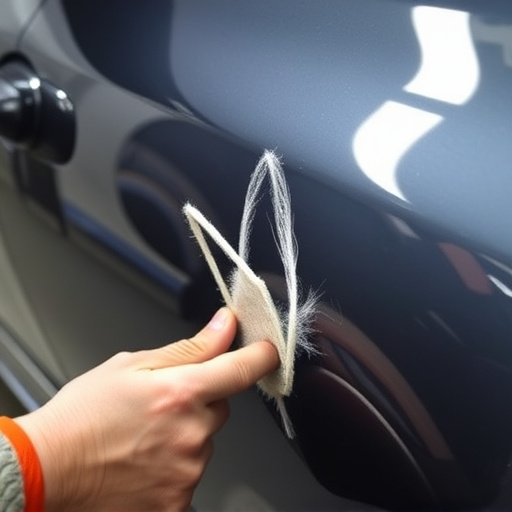
Tesla interior trim damage can range from minor scuffs and scratches to significant cracks and tears, often requiring professional Tesla interior trim repair. Common causes include everyday wear and tear, accidental damage, and in some cases, manufacturing defects. Cracks and chips in dashboards or door panels may result from impact during a collision or even from exposure to extreme temperature changes.
Different types of trim damage demand varied approaches for restoration. Surface scratches and minor dents can often be addressed through polishing and filling techniques. More extensive damage, such as broken or missing components, might necessitate replacement parts and skilled vehicle body repair techniques to ensure a seamless fit and finish. Recognizing the specific type of interior trim damage is crucial in selecting the appropriate Tesla interior trim repair methods for effective restoration.
The Step-by-Step Guide to Dashboard or Panel Repair

Repairing your Tesla’s dashboard or interior panel damage is a manageable task with the right approach. Start by gathering all necessary tools and materials, including car paint repair kits specific to Tesla models, sandpaper, primer, and high-quality paint. Ensure proper ventilation in your work area as you’ll be handling chemical compounds. Next, carefully remove any loose debris from the damaged area using a soft brush or vacuum cleaner. Lightly sand the surface to create a rough texture, allowing better paint adhesion. Clean the dust with a damp cloth before applying primer, ensuring an even coat for optimal results. Let it dry completely, then proceed to apply the selected Tesla-matched color using a fine-tipped paintbrush or spray gun for a smooth finish. This meticulous process ensures your vehicle’s interior looks as good as new, demonstrating the feasibility of DIY Tesla interior trim repair.
Replacement Parts, Tools, and Tips for Successful DIY Repairs

When undertaking Tesla interior trim repair for dashboard or panel damage, having the right replacement parts is paramount. It’s recommended to source genuine or high-quality aftermarket parts designed specifically for your Tesla model. This ensures compatibility and longevity of the repairs. Online retailers and specialized automotive stores are reliable sources for authentic components.
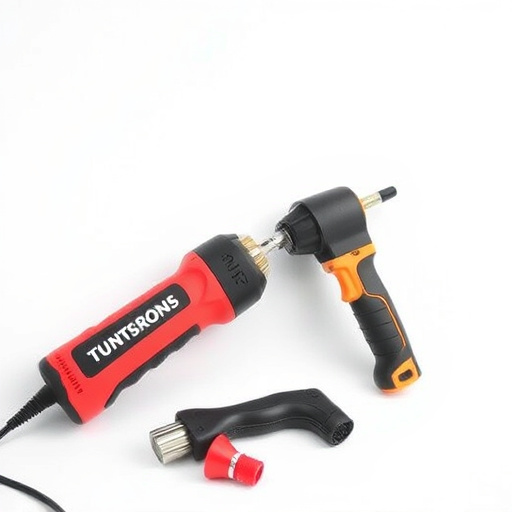
For a successful DIY repair, assembling the necessary tools is key. Basic tools like screwdrivers, hex keys, and pliers are essential. For more complex jobs, consider investing in specialized tools designed for Tesla interior trim removal and replacement. Always watch tutorial videos and read detailed guides before starting to familiarize yourself with the process. Tips include taking meticulous notes during disassembly and using protective gear to avoid damage or injury. Remember that precision is crucial, especially when handling delicate interior components.
Tesla interior trim repair is a valuable skill for any owner looking to maintain their vehicle’s aesthetic appeal. By understanding common causes of dashboard and panel damage, you can take proactive measures to protect your car’s interior. With the right tools, replacement parts, and step-by-step guidance, DIY repairs are achievable, allowing you to save time and money while ensuring a factory-like finish. Equip yourself with knowledge, the proper materials, and a bit of patience, and you’ll be well on your way to mastering Tesla interior trim repair.