

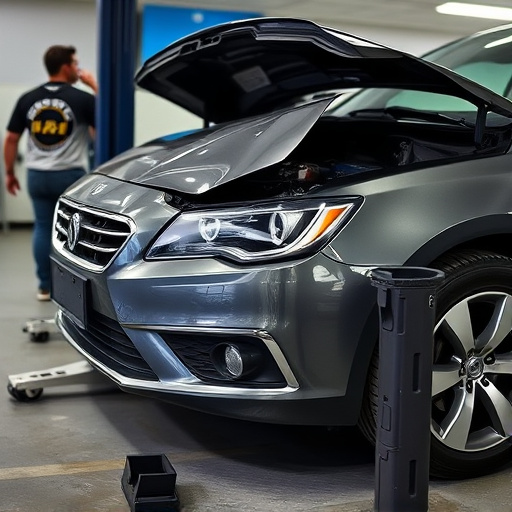
Tesla interior trim repair requires skilled technicians to address specialized components like climate control modules, infotainment systems, and seating adjustments with precision. This process involves detailed workspace preparation, careful removal of damaged trim, close inspection of damage, and adequate drying time to prevent warping. Regular maintenance, including auto glass repair, ensures optimal appearance and functionality.
“Tesla vehicles, renowned for their innovative technology and sleek design, can sometimes require expert care for their intricate interior trim. When it comes to servicing the electronic modules, a crucial step is understanding how to effectively perform Tesla interior trim repairs. This comprehensive guide delves into the process, offering a detailed step-by-step approach. From identifying damaged components to ensuring optimal post-servicing practices, you’ll discover the secrets to achieving flawless results in your Tesla interior trim repair.”
- Understanding Tesla Interior Trim Components
- Step-by-Step Guide to Repair Process
- Post-Servicing Tips for Optimal Results
Understanding Tesla Interior Trim Components

Tesla vehicles are renowned for their sleek and modern interiors, which consist of a variety of components that require meticulous care and attention when it comes to repairs. Understanding the intricate details of Tesla’s interior trim is crucial for effective repair work. This includes materials such as high-quality leather, fabric, and synthetic blends, each with its unique properties and maintenance needs. For instance, car scratch repair on these surfaces demands a delicate touch to avoid damaging the surrounding material while restoring the aesthetic appeal.
Additionally, Tesla interiors feature sophisticated electronic modules that control various functions like climate control, infotainment systems, and seating adjustments. Following electronic module servicing, which may be necessary due to updates or repairs, proper interior trim repair techniques are essential. This involves not only addressing any physical damage but also ensuring that the electronic components integrate seamlessly with the rest of the car body restoration process, maintaining the vehicle’s overall functionality and luxury feel.
Step-by-Step Guide to Repair Process
Repairing the interior trim of a Tesla after electronic module servicing is a process that requires precision and attention to detail. Here’s a step-by-step guide for a successful repair:
1. Preparation: Begin by ensuring your workspace is clean and well-lit. Gather all necessary tools and parts, including replacement trim pieces specific to your Tesla model. Put on protective gear, such as gloves and safety glasses, to safeguard against small parts and chemicals.
2. Remove Damaged Trim: Carefully dismantle the damaged interior trim piece. This often involves unfastening screws or clips securing the trim to the vehicle. Use a suitable tool like a Phillips-head screwdriver for this task. Once removed, inspect the damage closely. Take note of any breaks, cracks, or discolouration that needs addressing during the replacement process.
Post-Servicing Tips for Optimal Results
After completing Tesla interior trim repair following electronic module servicing, there are several tips to ensure optimal results and longevity of your vehicle’s interior. First, allow sufficient time for all parts to dry completely. Many modern automotive materials require specific drying conditions to prevent warping or discoloration. Second, inspect each component carefully before reassembly; look for any loose debris or damage that may have occurred during the service process.
Additionally, consider taking your vehicle to a reputable auto repair shop or vehicle body shop for a final quality check. Experts can offer valuable insights into any potential issues you might overlook. Remember, proper care and maintenance are key to preserving not just the appearance but also the functionality of your Tesla’s interior trim. Regular visits for auto glass repair and other maintenance services will further contribute to keeping your vehicle in top condition.
After successfully servicing your Tesla’s electronic modules, proper Tesla interior trim repair is crucial to restore your vehicle’s aesthetic and functionality. Following the step-by-step guide provided, you can effectively fix damaged trim components, ensuring a seamless and durable finish. To maintain optimal results, remember the post-servicing tips discussed, such as using high-quality materials and taking the time to ensure precise alignment. With these steps, you’ll be well on your way to repairing your Tesla’s interior trim like new.