


Tesla interior trim damage from everyday use and wear requires professional repair using OEM-approved materials to restore aesthetics and functionality. This meticulous process involves precise cutting, adhesive application, curing, and testing for seamless integration specific to each Tesla model. Proper selection of components ensures a factory-like finish, preserving the vehicle's aesthetic value.
Looking to restore your Tesla’s interior to its original splendor? This comprehensive guide is your go-to resource for learning how to perform expert-level Tesla interior trim repair. From identifying common damage and gathering the right OEM-approved materials to following a detailed step-by-step process, you’ll master the art of fixing your electric vehicle’s interior trim. Revitalize your Tesla’s aesthetic and keep it in top condition with this essential repair manual.
- Understanding Tesla Interior Trim Damage and Common Issues
- Gathering the Right OEM-Approved Materials for Repair
- Step-by-Step Guide to Professional-Grade Interior Trim Restoration
Understanding Tesla Interior Trim Damage and Common Issues

Tesla interior trim damage can arise from various factors, including everyday wear and tear, accidental spills, or even normal use by passengers. Common issues include cracked or broken plastic components, faded or torn fabrics, and discolored or peeling adhesives. These problems not only affect the aesthetic appeal of the vehicle but also impact its overall value.
Proper care can extend the lifespan of Tesla’s interior trim, but over time, some damage is inevitable. For instance, cup holders, door panels, and center consoles are particularly susceptible to wear due to their frequent contact with hands and items. Auto glass repair isn’t typically involved in Tesla interior trim repair, as it focuses on the vehicle’s windows and windshields. However, specialized automotive repair services or classic car restoration experts can offer tailored solutions using OEM-approved materials to restore or replace damaged components, ensuring both functionality and original appearance.
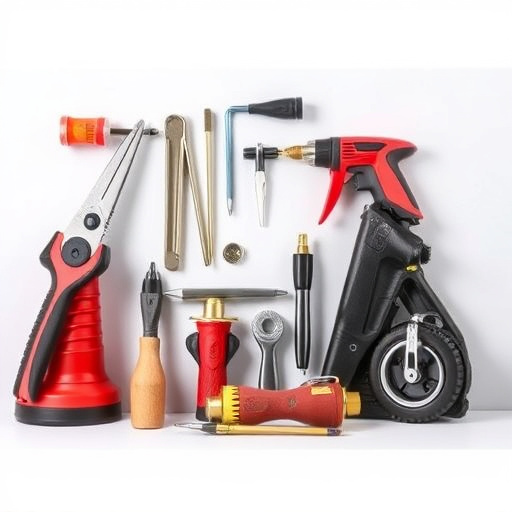
Gathering the Right OEM-Approved Materials for Repair

When undertaking Tesla interior trim repair, selecting the right OEM-approved materials is paramount to achieving a factory-like finish. This involves sourcing specific parts designed and engineered by Tesla to ensure compatibility and durability. It’s crucial to purchase materials from reputable suppliers who specialize in Tesla auto maintenance and replacement parts.
These components typically include everything from door panels and dashboard covers to console inserts and interior trim pieces. Ensure that each piece is tailored to your vehicle’s make, model, and year for seamless integration. While vehicle paint repair might be necessary if the damage extends to the exterior, the focus during Tesla interior trim repair should remain on using OEM-approved materials to maintain consistency and preserve the car’s overall aesthetic.
Step-by-Step Guide to Professional-Grade Interior Trim Restoration

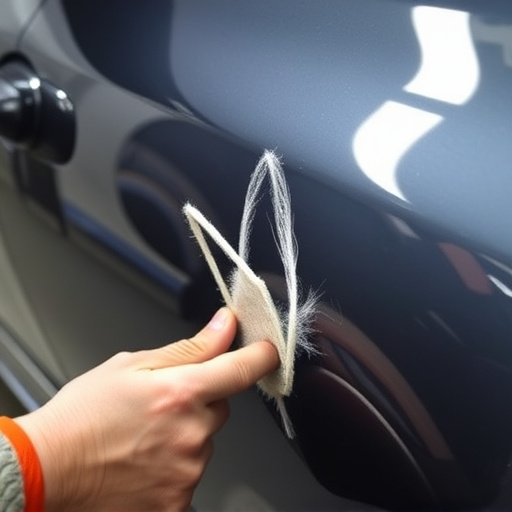
Restoring your Tesla’s interior trim to its original condition involves a meticulous process that requires precision and the right materials. Here’s a step-by-step guide designed for those wanting to achieve professional-grade results, focusing exclusively on using OEM-approved components for a perfect match. Begin by thoroughly inspecting the damaged area, identifying loose or missing components, and gathering all necessary tools and supplies. Next, carefully remove any debris and loose material from the trim panel, taking note of its original shape and placement.
Using a suitable solvent, clean the damaged surface to remove any grease, dirt, or previous repair residue. This step is crucial for ensuring a robust bond between the new trim pieces and your Tesla’s interior. Once cleaned, assess the extent of the damage and cut the replacement OEM-approved material precisely to fit the contours of your vehicle. Apply a thin layer of high-quality adhesive as per the manufacturer’s instructions, carefully fitting the new trim into place. Finally, secure it with clips or screws (as needed) and allow adequate time for the adhesive to cure completely before testing its integrity and appearance against the original trim.
Tesla interior trim repair is a meticulous process that requires precision and the right materials. By understanding common damage types and gathering OEM-approved components, you can achieve professional-grade restoration results. Following a structured guide ensures a thorough fix, preserving your Tesla’s aesthetic appeal and value. Remember, proper repair methods are key to maintaining the vehicle’s longevity and overall condition, making it a valuable skill for any Tesla owner to acquire.