


Regularly inspect Tesla interior trim for wear and damage. Address loose parts, discoloration, cracks, and warping through professional restoration or DIY repair using specific tools and high-quality replacement parts. Gather necessary materials, disconnect power to affected areas, clean the area, apply adhesive, and gently press in new parts. Cure the adhesive, reattach removed trim, and enjoy a restored, brand-new Tesla interior.
Looking to refresh your Tesla’s interior? Discover how to tackle common trim issues like damaged cupholders, faulty switches, and worn trim inserts with our comprehensive guide. We walk you through the process step-by-step, providing a list of necessary tools and materials along the way. By following these simple instructions, you’ll save time and money while restoring your Tesla’s like-new condition. Get started on your DIY Tesla interior trim repair today!
- Identifying Common Tesla Interior Trim Issues
- Gathering Necessary Tools and Materials
- Step-by-Step Guide to Repairing Cupholders, Switches, and Trim Inserts
Identifying Common Tesla Interior Trim Issues
Identifying common Tesla interior trim issues is a crucial first step in any repair process. Over time, components like cupholders, switches, and trim inserts can wear out or become damaged due to everyday use, exposure to extreme temperatures, or accidental bumps. One of the most noticeable signs to look for are loose or missing parts, which can indicate a need for Tesla interior trim repair. Discoloration, cracks, and warping are also common issues that may require attention from a professional restorer.
Moreover, paying close attention to the fit and finish around doors, windows, and dashboards is essential in diagnosing interior trim problems. Dents, scratches, or misalignments can often be addressed through techniques like dent removal and car body restoration, while more severe cases might necessitate replacement parts. Regular maintenance and timely repairs can help preserve the original aesthetic of your Tesla and ensure a comfortable driving experience for years to come, requiring minimal car restoration efforts.
Gathering Necessary Tools and Materials

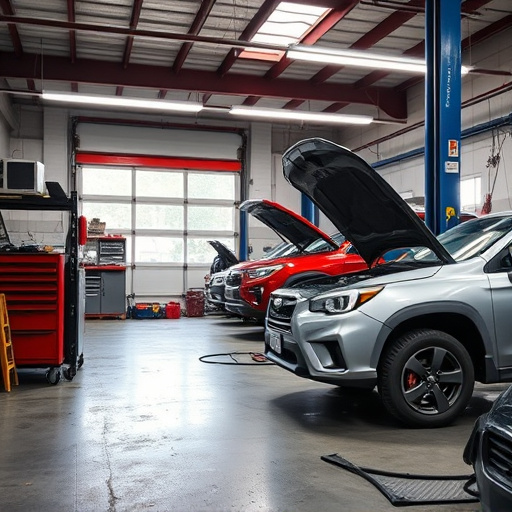
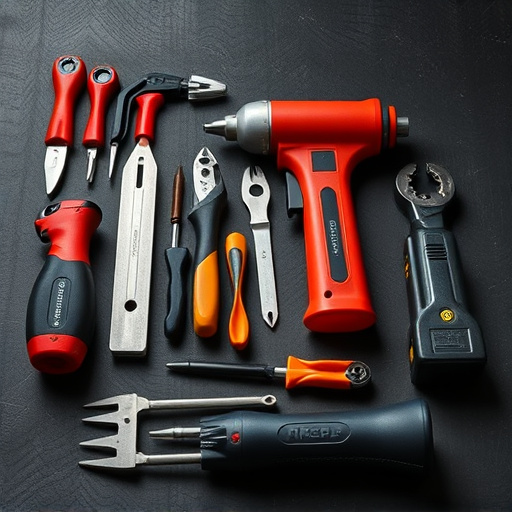
Before tackling any Tesla interior trim repair, it’s crucial to gather the right tools and materials. For a successful job, you’ll need specific items designed for precision work and compatibility with your vehicle’s material. Start by acquiring high-quality replacement parts, including cupholder assemblies, switch panels, and trim inserts that match your Tesla model precisely. Don’t overlook the importance of having an automotive collision repair manual or guide tailored to your car make and model; these resources provide invaluable step-by-step instructions for interior trim repairs.
Additionally, ensure you have a variety of tools at hand, such as precision screwdrivers (flathead and Phillips), tweezers, and plastic tools designed for car dent removal. A clean workspace with adequate lighting is also essential, allowing you to work meticulously on each component without risking damage or misalignment during the Tesla interior trim repair process.
Step-by-Step Guide to Repairing Cupholders, Switches, and Trim Inserts
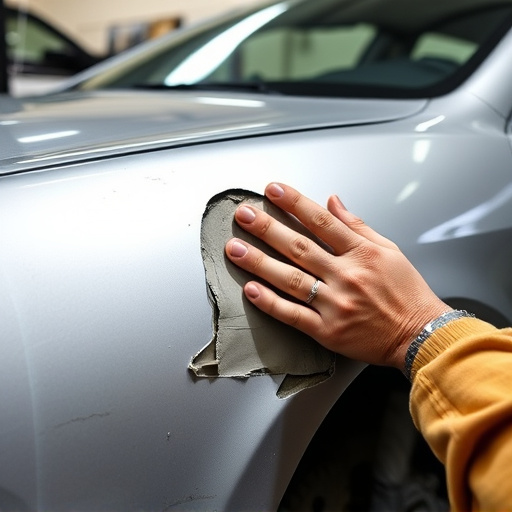
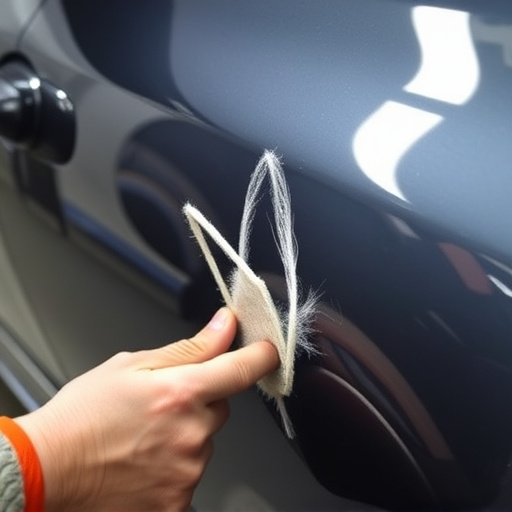
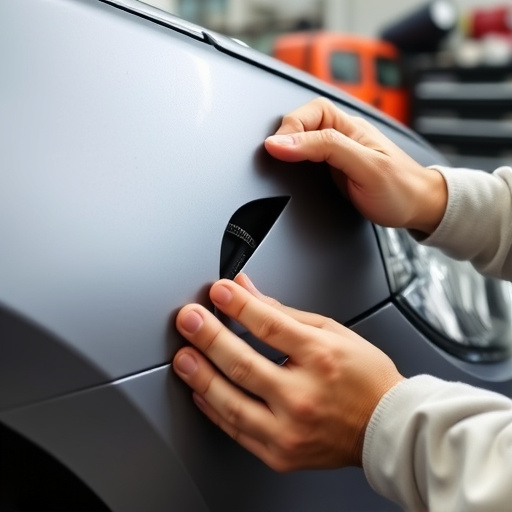
Repairing cupholders, switches, and trim inserts in a Tesla involves careful attention to detail and the right tools. First, gather all necessary materials including replacement parts, a phillips head screwdriver, and an adhesive suitable for automotive interiors. Begin by disconnecting the power to the affected areas using the vehicle’s manual or consulting online resources specific to your Tesla model. Next, carefully remove any surrounding trim panels or covers to gain access to the cupholder or switch mechanism.
With the old parts removed, clean the area thoroughly to ensure a proper bond between the new and existing components. Apply adhesive along the edges of the replacement parts and gently press them into place. Use a soft cloth or sponge to smooth out any excess adhesive and allow it to cure according to the manufacturer’s instructions. Once cured, reattach any trim panels or covers that were removed earlier. The result will be a restored Tesla interior that looks as good as new, brought back to its original condition by expert vehicle restoration techniques performed in a trusted car body shop or auto collision center.
Reparing your Tesla’s interior trim, including cupholders, switches, and trim inserts, is a rewarding DIY project that can significantly enhance your vehicle’s aesthetics and functionality. By understanding common issues and following a systematic approach outlined in this guide, you’ll be well-equipped to tackle these repairs efficiently. With the right tools and materials, you can restore your Tesla’s interior to its original condition, ensuring a more enjoyable driving experience. Remember, taking care of routine maintenance, like Tesla interior trim repair, is key to preserving the value and beauty of your electric vehicle.