


Tesla interior trim damage, from scuffs to severe denting, is common and should be addressed promptly for aesthetic and value retention. Use specialized tools like dent pullers, plastic polishers, and paintless dent repair kits along with automotive-grade materials to safely repair dashboards and panels. Major damage may require expert collision repair services specializing in Tesla interior trim repair, involving careful assessment, debris removal, sanding, priming, painting, and clear coating.
Tesla owners often face the challenge of repairing dashboard or panel damage, a common issue that can detract from the vehicle’s sleek design. This comprehensive guide delves into the world of Tesla interior trim repair, equipping you with the knowledge to undertake these fixes yourself. From understanding the types of damage to mastering the step-by-step restoration process, this article covers everything you need to know for successful Tesla interior trim repair.
- Understanding Tesla Interior Trim Damage
- Tools and Materials for Repair
- Step-by-Step Guide to Dashboard/Panel Restoration
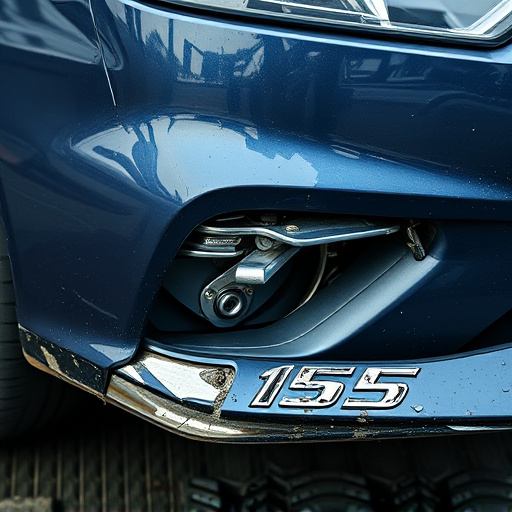
Understanding Tesla Interior Trim Damage

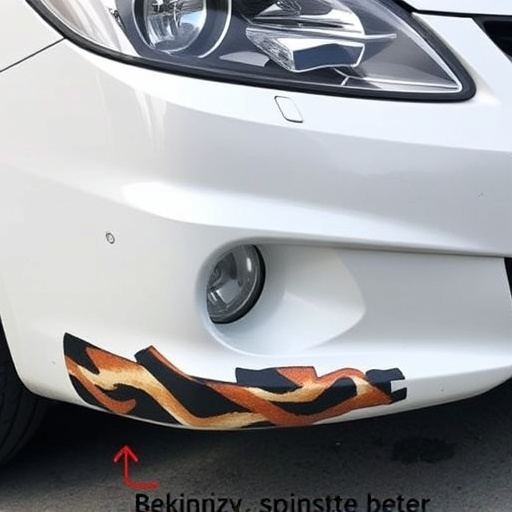
Tesla interior trim damage can manifest as a range of issues, from minor scuffs and scratches on panels to more severe denting and cracking of the dashboard. This type of damage is often caused by everyday wear and tear, accidental bumps, or even more significant events like hail storms or fender benders. Recognizing these problems early is crucial for effective Tesla interior trim repair.
Properly addressing interior trim damage, whether it’s a scratch repair or extensive hail damage repair, can significantly enhance the vehicle’s aesthetic appeal and overall value. Vehicle restoration techniques tailored to Teslas ensure that the repairs are both visually seamless and structurally sound, maintaining the unique and modern look of your electric vehicle.
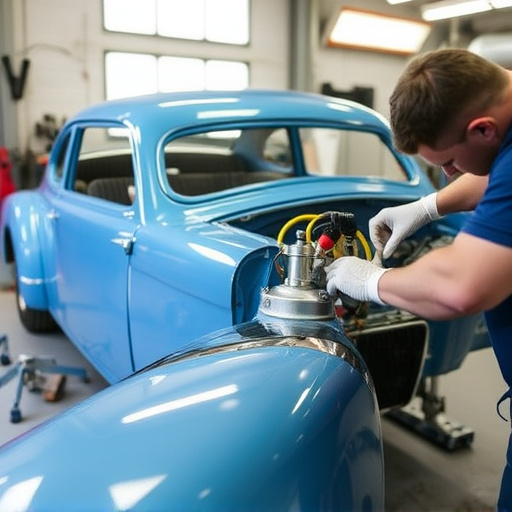
Tools and Materials for Repair

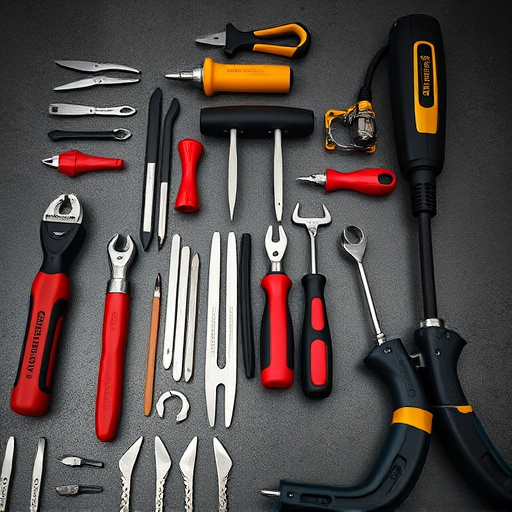
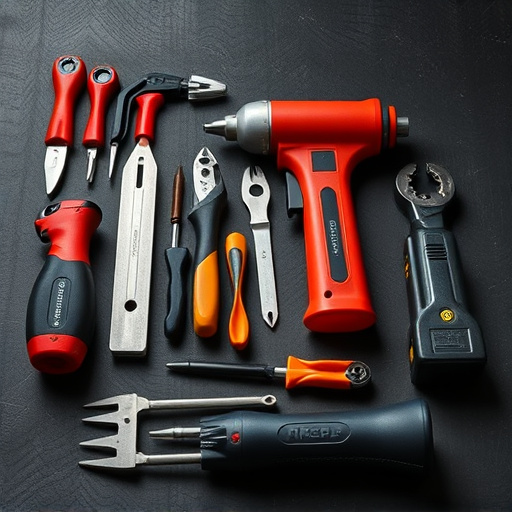
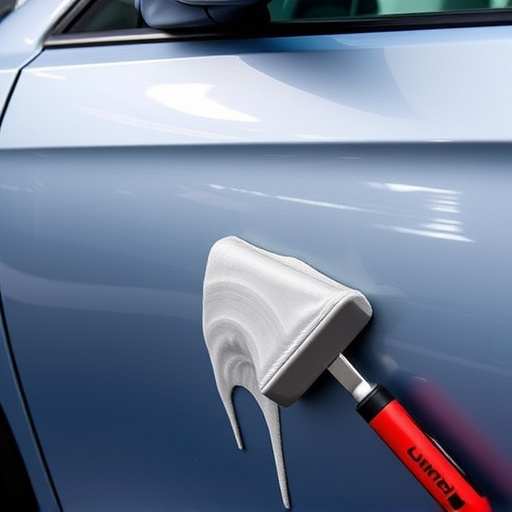
When undertaking Tesla interior trim repair for dashboard or panel damage, the right tools and materials are essential for achieving a seamless finish. For a start, you’ll need precision tools like dent pullers and plastic polishers to carefully remove dents and scratches without damaging surrounding surfaces. Additionally, a good quality paintless dent repair kit is invaluable; these kits use heat guns and special bars to gently press out depressions, leaving no visible marks.
For the actual repair process, a range of materials will be required, including automotive-grade adhesives, filling compounds, and body putty for smoothing out imperfections. To ensure long-lasting results, invest in high-performance paints that accurately match your Tesla’s original color. Moreover, don’t overlook safety equipment like gloves, goggles, and proper ventilation, as these are crucial when handling chemicals and working in a confined space, typical of car interiors.
Step-by-Step Guide to Dashboard/Panel Restoration

Restoring your Tesla’s dashboard or interior panels to their like-new condition involves several meticulous steps. First, assess the damage – minor cracks or chips can often be repaired with a specialized kit, while more extensive damage might require replacement parts. For a complete overhaul, gather the necessary tools and materials, including a car paint repair kit suitable for Tesla models, sandpaper, primer, clear coat, and a clean surface.
Begin by carefully removing any loose debris from the damaged area using compressed air. Lightly sand the surface to ensure proper adhesion for the paint repair kit. Prepare the damaged section according to the kit’s instructions, applying primer and then the color-matched paint. Allow each layer to dry completely before adding a final clear coat to protect the restoration. For more severe cases where replacement is necessary, consider turning to expert collision repair services that specialize in Tesla interior trim repair, ensuring a precise and factory-like finish.
Tesla interior trim repair, whether for dashboard or panel damage, is a feasible DIY project with the right tools and knowledge. By understanding common causes of harm and gathering essential materials, you can effectively restore your Tesla’s aesthetic appeal. Following a structured guide ensures precise repairs, allowing you to navigate through the process confidently. Remember, taking proactive measures not only enhances your vehicle’s longevity but also saves costs in the long run.